European Rail
Book
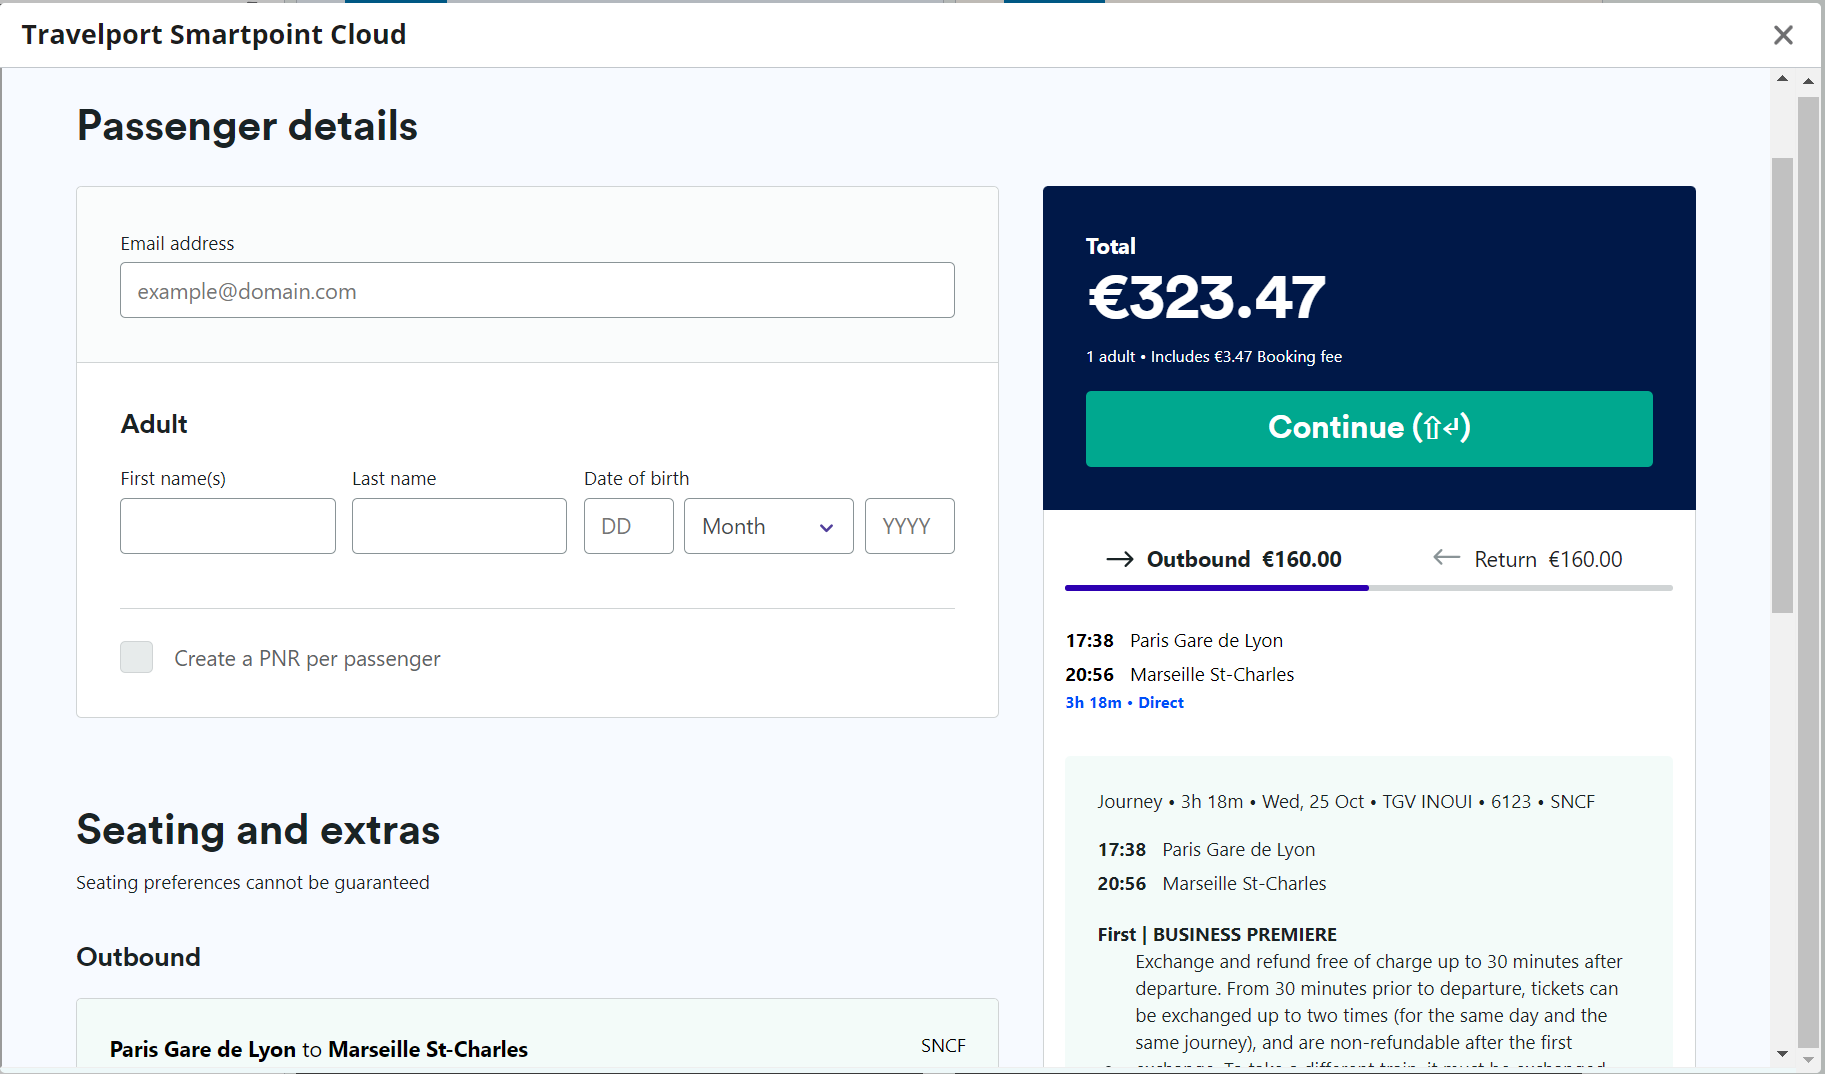
After you complete your search for a European Rail itinerary and fare and select Continue, a booking screen is displayed for passenger details, seating, and extra options.
To book a European Rail itinerary:
Passenger details
These fields may be pre-filled: name/first name, date of birth, loyalty card number, and discount card number.
These fields are planned for a future release: corporate contract code, agency email address, and passenger email address.
-
In email address, enter your agency's email address. Do NOT enter the passenger's email address.
-
For each passenger, enter First name and Last name.
Note: Special characters are not supported by Travelport+ (1G). -
Enter any additional details displayed for this carrier.
 Additional details
Detail
Description
Date of birth
The passenger's birth date. For example: 24 July 1983 or 07 March 1997.
Note: Children may not be allowed
More information
To add the date of birth:
-
In DD, enter the date two-character date.
-
Select the Month arrow to choose the birth month.
-
In YYYY, enter the birth year.
Phone number Enter the primary passenger's phone number, including country code. Note that special characters, such as -, (), /, and . are not used.

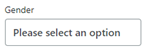
Gender Select the Gender field to choose from gender options provided by the rail carrier.
Email address Enter the primary passenger's email address.

Documents Select the Documents arrow to choose from passports and other ID options.

Enter the data required for each document type. In this example, passport fields are displayed.

-
-
Optional, if split bookings are supported by the carrier. Select Create a PNR per passenger to create a separate PNR/Booking File for each passenger. If this option is not selected, all passengers are added to a single PNR/Booking File.
Seating and extras
-
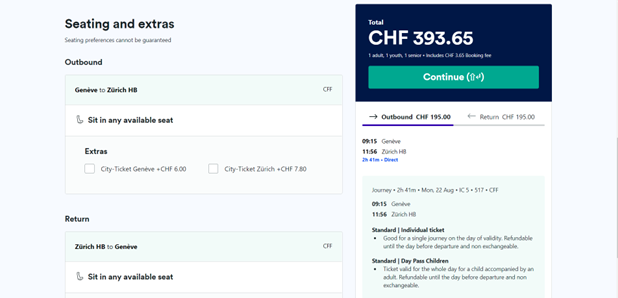
If applicable. Review and select available options for seating and extra services.
The availability of free or paid seating, as well as extra services, varies by carrier, itinerary, and fare.
Seating
Available seating options are displayed, and can include:
-
Sit in any available seat indicates unassigned seating.
-
Automatically assign traveller an available seat to request the carrier to assign the seat.
-
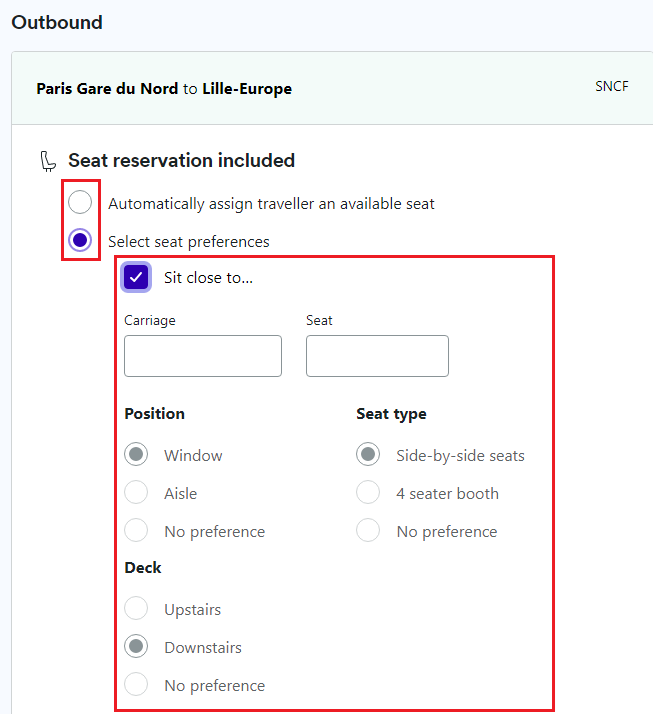
Select seat preferences to request either:
-
A seat near a specific seat.
-
Seat characteristics, such as window or aisle position, seat type, and deck.
More information
To request a seat near a specific seat:
-
Select Sit close to....
-
Enter the Carriage and Seat number.
To request seat characteristics:
Select from the available options in Position, Deck, and Seat type.
-
-
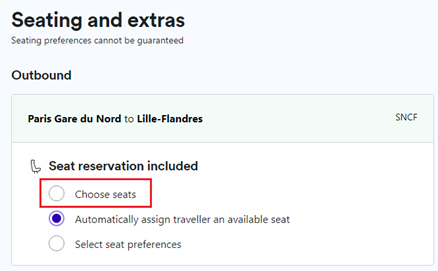
Choose seats to display a seat map to select a specific seat.
More information
To display a seat map:
-
Select Choose seats to display the seat map.
-
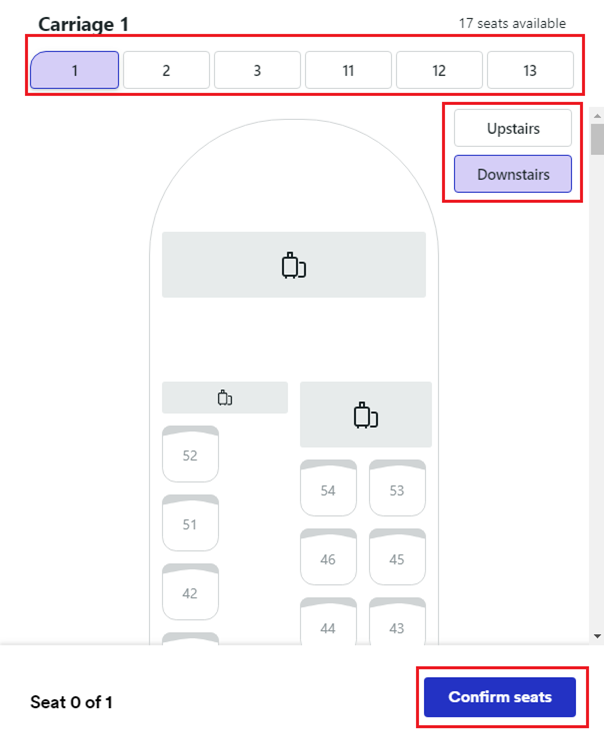
In Carriage, select the desired carriage number. Note that the number of available seats is displayed.
-
For duplex carriages. Select Upstairs or Downstairs.
-
Scroll to select the desired seats.
-
Select Confirm seats to display the seat confirmation.
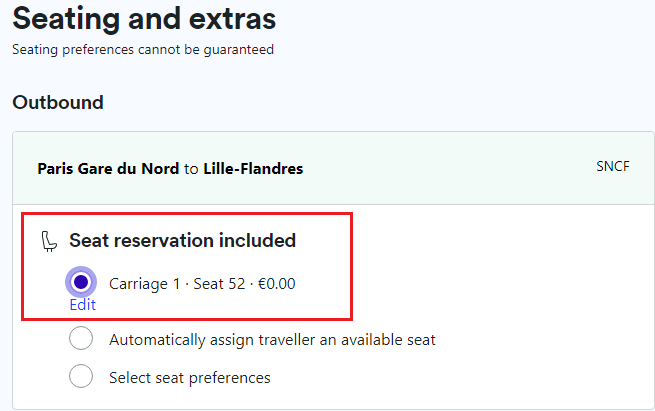
In this example, seat number 52 in carriage 1 is confirmed as a free seat on SNCF.
Tip! Select Edit to display seatmap and change to a different seat.
-
-
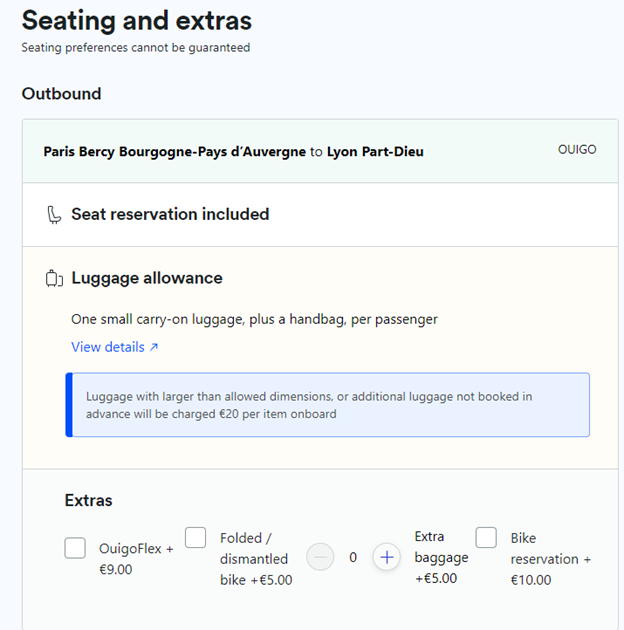
Extras
The extras section may indicate requirements, such as luggage allowance, as well as the type and charges for additional luggage items, services, or features.
-
-
Select Continue to confirm and pay for the booking.
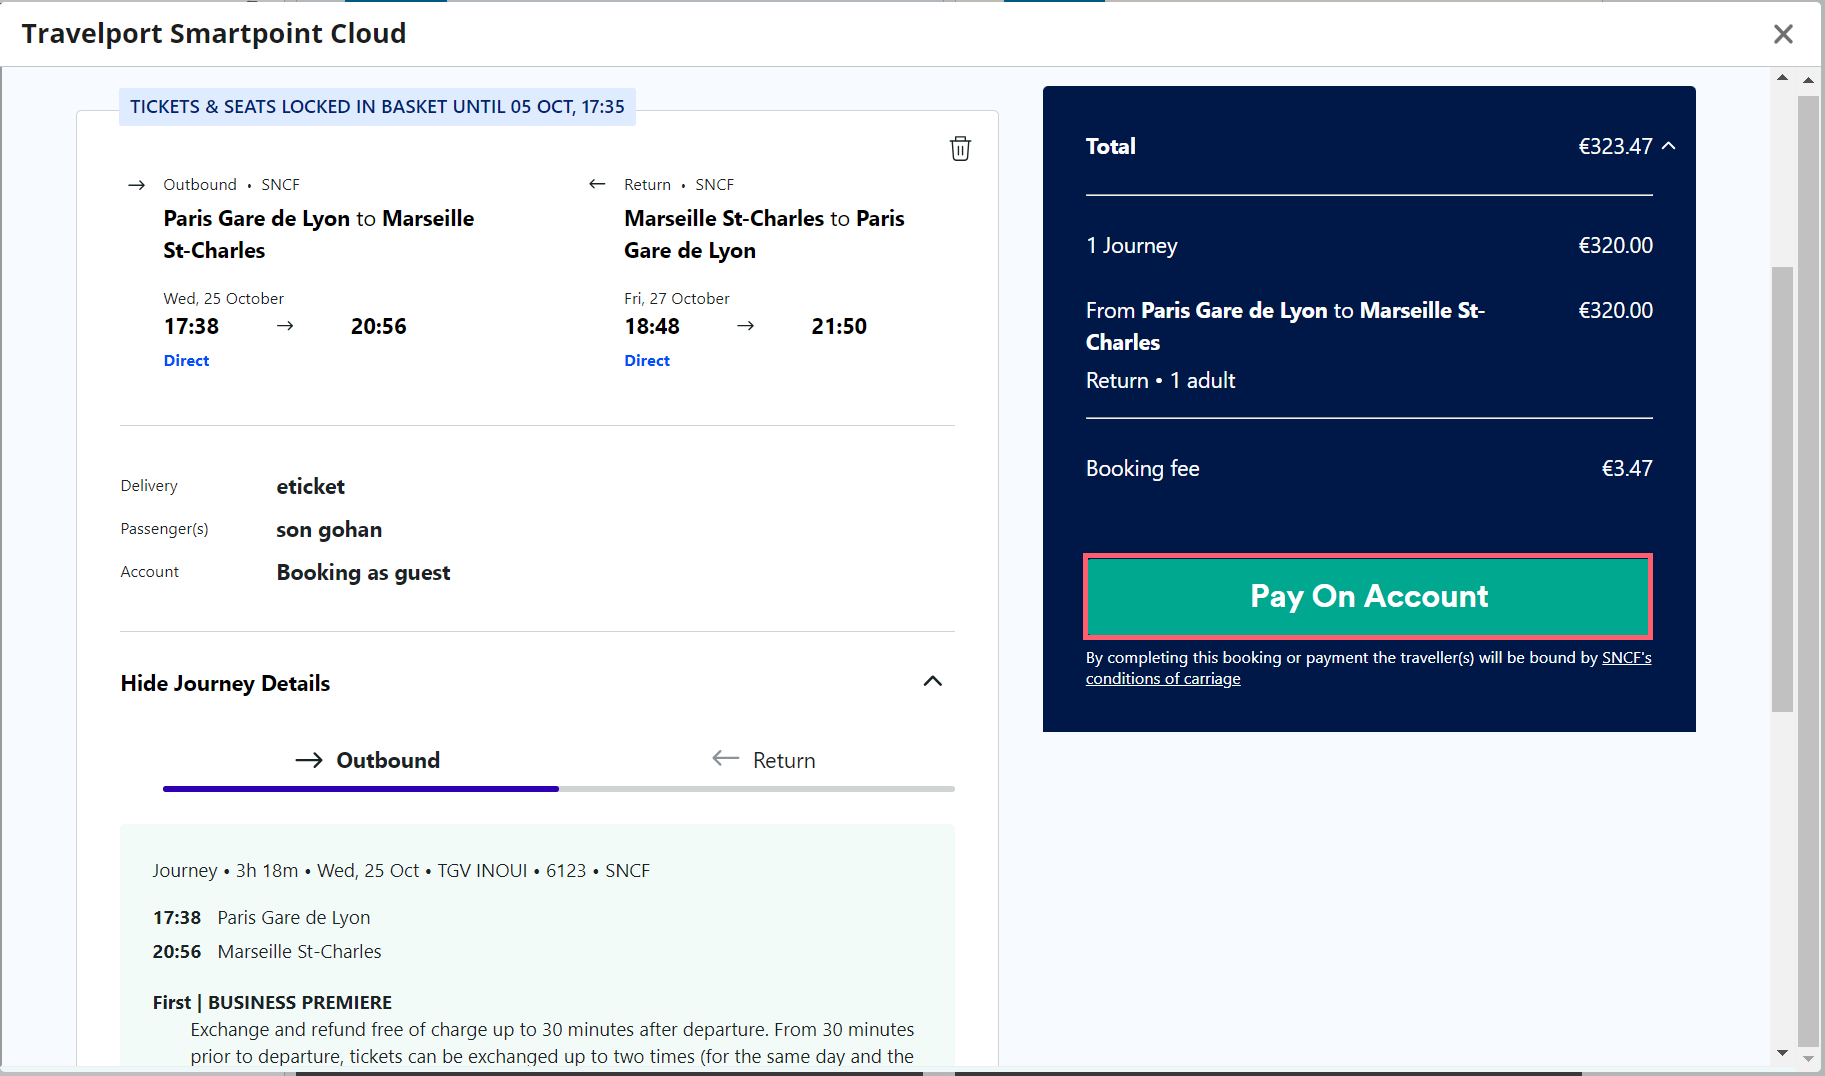
Confirm and pay
-
Review the itinerary and fare details.
Tip! If you decide not to book, you can select the Discard icon to ignore the itinerary and return to search.
 -
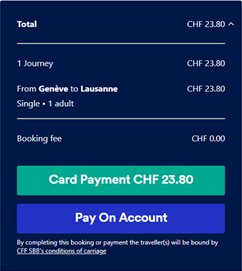
Select the form of payment. Currently, credit card and pay on account are available as forms of payment. This example shows a pay on account option. However, available forms of payment may vary by agency.
More Information
Credit card and pay on account are available as forms of payment.
 Pay On Account
Select Pay on Account to charge against the agency account associated to the lead passenger.
Card Payment
To pay by credit card:
-
Select Card Payment to enter credit card information for the displayed amount.
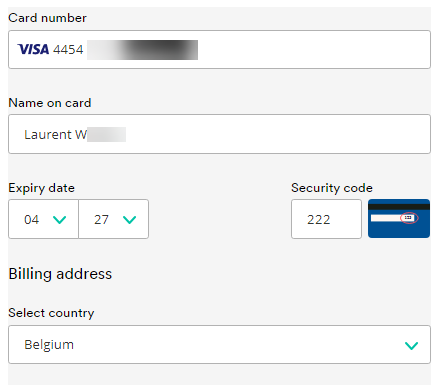
Enter the data required for the credit card. Note that available credit card types may vary by carrier.
-
In Card number, enter the credit card number.
-
In Name on card, enter the card holder's name as it is listed on the credit card.
-
Select the Expiry date arrows to choose the month and year of the card expiration.
-
In Security code, enter the three- or four-digit CVV (Credit Verification Value) code, if applicable. Note that security codes may or may not be required by some credit card types, suppliers, countries, or types of purchase.
-
Select the Select country arrow to choose the country of the address associated to this card.
After the payment is processed, the confirmation screen is displayed.
-
-
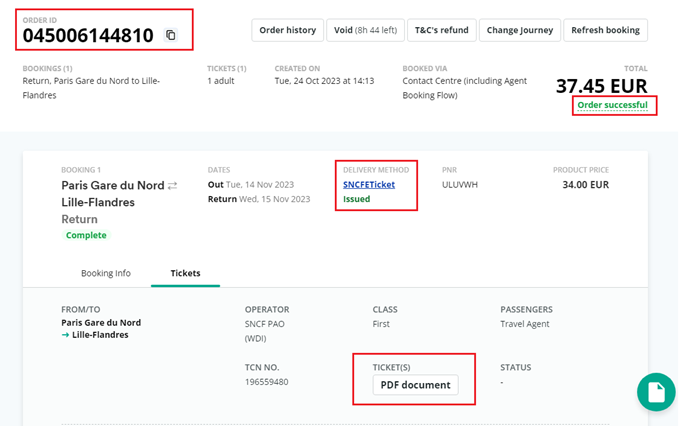
Review the confirmation screen. The confirmation number is displayed in ORDER ID.
Note: The Order ID is NOT the same as the carrier's reference ID.More information
In the confirmation screen, you can also:
-
Select PDF document to link to the tickets in a PDF file.
-
In DELIVERY METHOD, select the ticket link to display the name and delivery address, if applicable. In this example, select SNCFETICKET.
Tip! Select the More ... icon, then select Refresh booking to update from the latest information in the carrier inventory, such as exchanges or other status changes.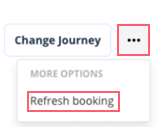
-
-
Select the close X icon the booking to exit the booking tool. A passive PNR/Booking File can be displayed.
-
Optional. After the booking is complete, you can:
-
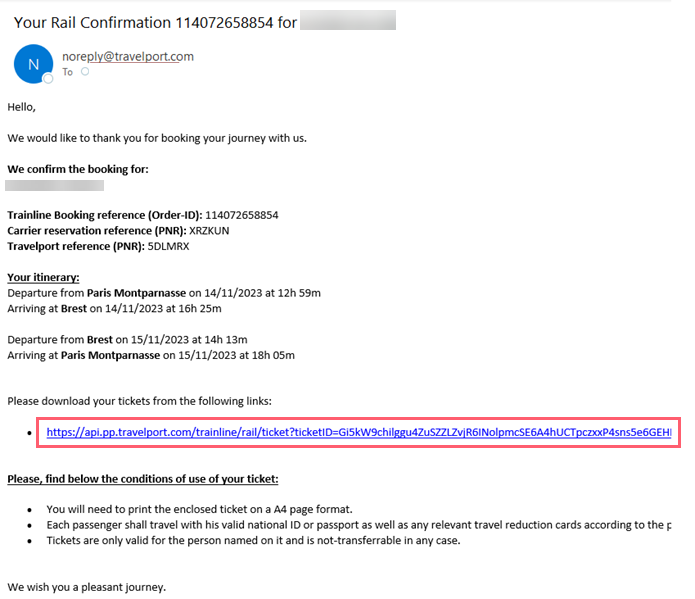
View an itinerary email issued by the carrier that contains a link to the ticket PDF file.
Tip! It is recommended to download the ticket files and send to customers separately instead of providing instead of providing the URL link directly to customers. -
Add the Booking File to a queue, if set up for the PCC.
-
View or manage the reservation. If permitted by the carrier and fare rules for a booking, you can:
-