Using Smartpoint Cloud
Smartpoint Cloud can support up to 9 windows, which can be added, deleted, moved, and resized.
You can also switch between graphical displays and terminal displays using the Toggle view  icon. Refer to Toggle views below.
Modify your workspace
You can add, resize, close, and move windows. When the Toggle view icon is active, you can switch between terminal and graphical displays.
-
Press the + at the bottom left of each window to add a new window to the column (maximum of 3 windows per column). Drag the horizontal line to resize any window.
-
Press the Toggle view
icon when active to toggle between the terminal and graphic display. -
Press the More
 icon to change the window’s options to native mode or change the window's color theme.
 -
Press the X in the upper right corner of a window to close it.
-
Drag the window header to move the window to another location. Double-click the window header to maximize or minimize a window.
The layout you are using when you log out is remembered and displayed next time you log in.
Press the pin  icon to pin and unpin the sidebar (press thumbnail images to expand and press again to minimize).
When working in a window:
-
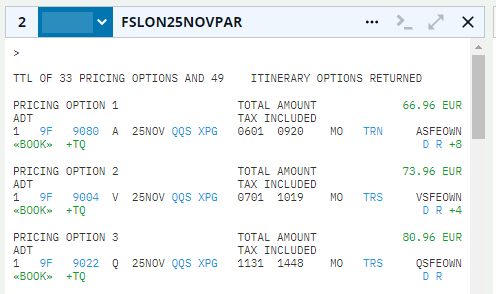
All input entries are displayed at the top of each window.
-
A loading icon displays when waiting for a response.

-
Below is the resulting response. An inner scroll bar appears when the response is longer than the size of the window.
Toggle views
When in a graphical view, press the Toggle view  icon in the upper right corner to switch from the graphical view to the terminal view.
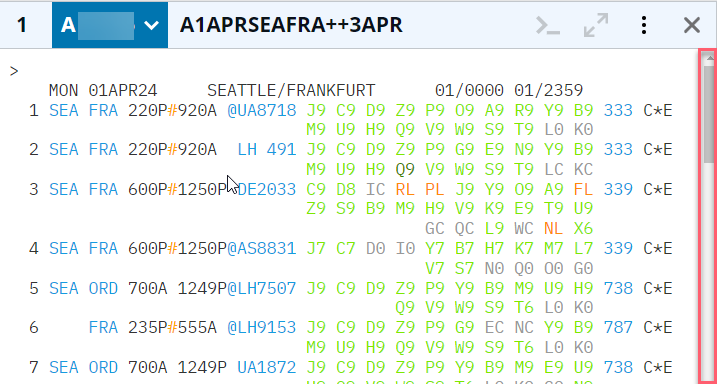
The terminal window displays the cryptic entry in the header and the results listed in the window. To return to the graphical view, press the Toggle view icon in the window header.
Graphical view
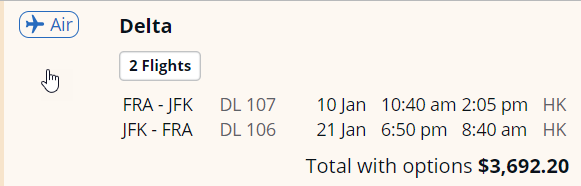
The air reservation card displays the number of flights booked, the flight information, and the cost. There are individual cards for travelers, booking information, document invoicing, booked cars, and hotel rooms.
The right side of the air card displays associated remarks to a segment, or unassociated remarks that apply to the entire itinerary.
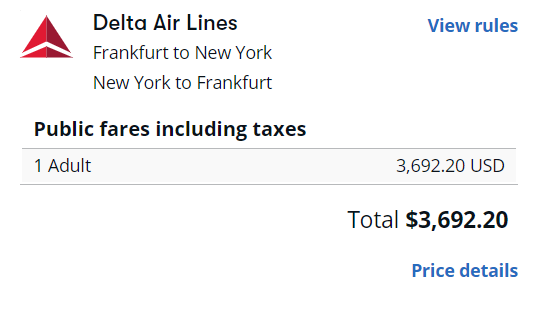
There are links to view the rules of the fare and price details of the tax information.
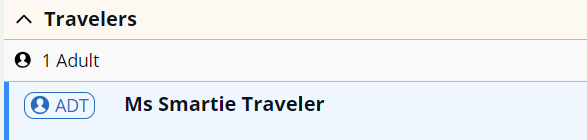
On the right side of the card, these traveler details are displayed:
-
The PTC applied
-
Date of birth
-
Membership numbers
-
Security information
Each card provides options for other tasks. The traveler has an Edit Travelers button. When pressed, you can add membership numbers and security information, such as passport details. The air card has an Issue ticket button and, if ticketed, a modify button becomes available.
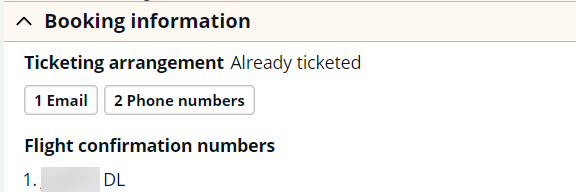
The information on the card is in summary form. The right side documents the details. The 1. above is the airline’s record locator in their system.
Document invoicing has two options, if the PNR has been ticketed, each display on the right if selected.
-
DI section, which contains NDC audit trail (if used) or invoice information
-
Notepad remarks
Booking view
Once a PNR is retrieved, the booking view appears along the top of the window. The booking view is visible in both terminal and graphical views. It begins with the booking (record locator), the number of travelers in the booking, and the number of flights booked.

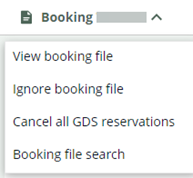
Press Booking to view the booking file, ignore, cancel the GDS segments, or search to retrieve a booking.
If you ignore the booking file in terminal view, you will remain in terminal. If you ignore the booking file in the graphical view, you will be redirected to the welcome page.
If you want to return to a booking you worked with this session, scroll down and view the list under Recent activity. An interactive list displays the record locator, traveler's full name, travel date and time. Press the name or record locator and the PNR will open in graphical view.