Launching Smartpoint
After installation, you can launch Smartpoint by either:
- Double-click or press the Travelport Smartpoint
 shortcut on your Windows desktop.
 - From the Windows Start Menu, clicking Travelport, then selecting Smartpoint.
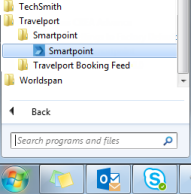
Travelport Smartpoint launches in one of two ways, depending on the settings for Smartpoint on your system:
- Smartpoint with Galileo Desktop hidden. Your agency can configure your system for standalone Smartpoint or you can choose to enable the Hide Galileo Desktop feature.
- Smartpoint with Galileo Desktop shown.
Launching Smartpoint for the First Time
Your first launch of Smartpoint
To launch Smartpoint:
-
Open Travelport Smartpoint
to display the Logon window for Galileo Desktop.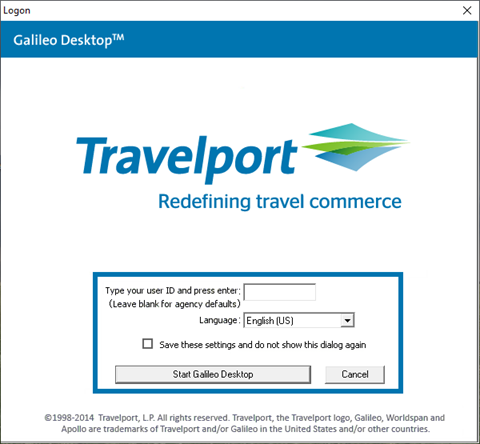
Note: If your agency is configured to use standalone Smartpoint, this screen will not display again after your first sign on.
-
Optional. In Type your user ID, enter your assigned User ID. Then press ENTER.
-
Optional. Click the Language arrow to select another language if you have installed more than one language. You can also change the language displayed at any time from the Smartpoint Application Settings.
-
Click Start Galileo Desktop to display the Smartpoint Sign On window.
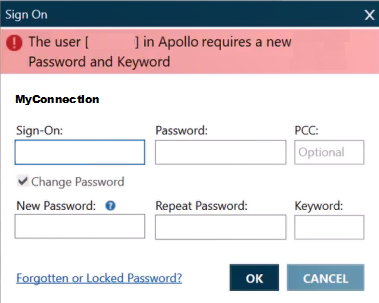
The first time you sign on to Travelport+ (1G) or Apollo (1V) with a new Client ID (SSL Thumbprint), you must change your password and provide a unique email address.
See Signing On for the First Time for instructions.