Application Windows
Adding Windows
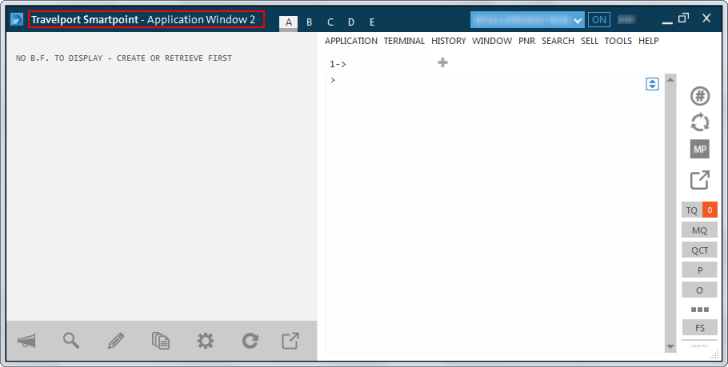
By default, Travelport Smartpoint displays in one application window. However, you can create additional application windows.
New application windows can be created for both Classic Windows and Flex Windows layouts. However, if you change the layout for one application window, the layout is changed for all other windows.
To create a new application window:
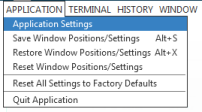
- Open the Application Settings dialog box.
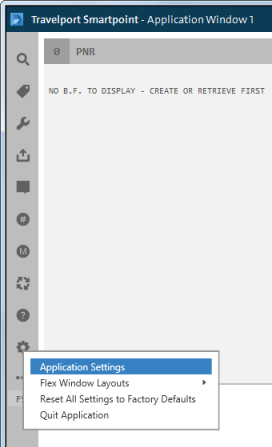
Flex Windows
From the Application Settings
icon, select Application Settings.
The Application Settings dialog box is displayed. This example shows the settings for Classic Windows. However, the Windows Management section is the same for Flex Windows.
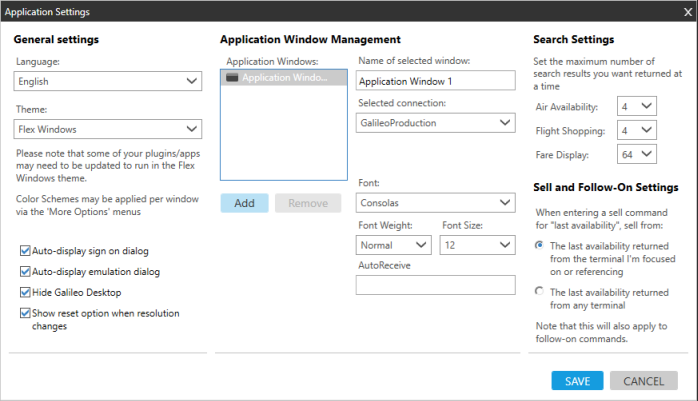
- In the Application Windows Management section, click the Add button to add a new Application Window.

- Optional. In Name of select window, rename of the new application window.
- Optional. Click the Selected connection arrow to set up the default connection for the new application window.
Note: You can have more than one connection only if you are configured for access to both Travelport+ (1G) and Apollo (1V) from the same workstation or device. A separate Client Identifier and provisioning is required for each connection.
- Optional. In Font, Font Size, and Font Weight, change the font settings for the new application window.
- Optional. In AutoReceive, enter a name or identifier to automatically add as Received By name or ID when you end transact (ET or ER).
- Click SAVE to display the new application window.
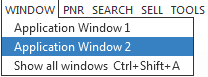
- To switch between one or more application windows, you can either:
- Click anywhere on an application window.
- Click the Window menu to select a window or display all windows.