PNR Viewer
Customizing Buttons in the PNR Viewer
In Smartpoint 9.1 and later, agents can customize the PNR Viewer to choose which buttons and links to display. By customizing links, agents can streamline the PNR/Booking File display by removing unneeded or duplicated content, such as Vendor Locator information.
To customize buttons and links in the PNR Viewer:
-
From the PNR Viewer, click the More Options … icon.

-
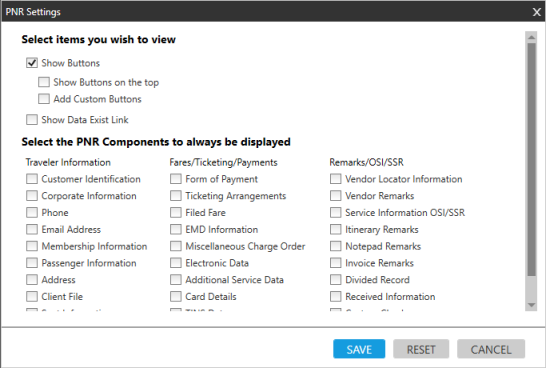
Select PNR Settings to display the PNR Settings window.
-
Optional. Select Show Buttons to include buttons in the PNR Viewer display. If cleared, no buttons display in the PNR Viewer.
-
Optional. By default, buttons display at the bottom of the PNR/Booking File. Select Show Buttons on the top to move the buttons to the top of the PNR/Booking File.
-
Optional. Select Add Custom Button to create a maximum of five custom buttons. Custom buttons are associated to a specific agent and display in every PNR/Booking File.

-
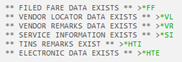
Optional. Select Show Data Exist Link to show all links found in the PNR/Booking File.
-
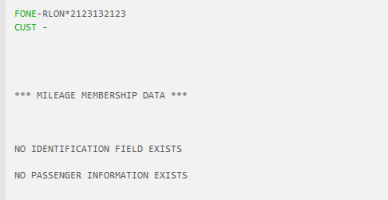
Optional. In Select the PNR Component to always be displayed, select from the options that display by default in each PNR/Booking File.
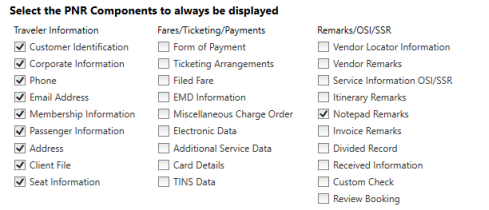
The selected items are displayed, even if they are not found in the PNR/Booking File.
-
Click SAVE to store the selections. Open PNR/Booking Files are refreshed with the updated selections, and the selections become the default for each subsequent PNR/Booking File.