Seating
Requesting Airline-Assigned Seats
Important! There may be differences in the availability of seat maps depending on the carrier, and also whether your seat map request is made before or after booking. See Viewing Seat Maps Before Booking for more information.
To request seats assigned by the airline:
- Enter passenger names for the PNR/Booking File. Other customer information can also be added to the PNR/Booking File, but passenger names are the minimum requirement to view seats.
- If applicable, enter any loyalty information for your passengers before selecting seats. A passenger's frequent flier status can affect the available seating options.
- Display the seat map.
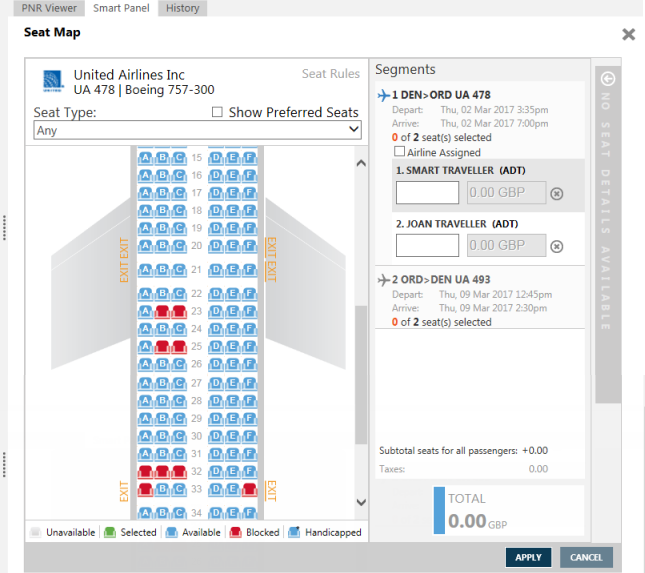
Why did a seat map not display?
- A seat map frame with no map is displayed if no seats are available for Galileo and Apollo. (For agencies that also use Worldspan, an error message is returned if no seats are available: Graphical seat map not avail.)
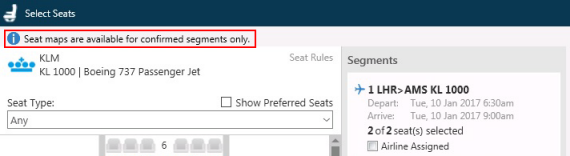
- Seat maps are displayed only for confirmed (Status HK) segments.
- If one or more segments are unconfirmed, a warning is displayed at the top of the seat map.
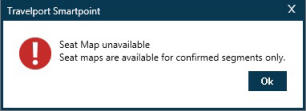
- If all segments are unconfirmed, a warning message is displayed.
Seat maps are displayed as they become available from the airline. Therefore, if your itinerary includes more than one seat map, some maps may display more quickly than other maps.
You can begin to select seats from any available seat maps before the additional maps to display.
- In the Segments section, click on the desired segment.
- Select the Airline Assigned check box.
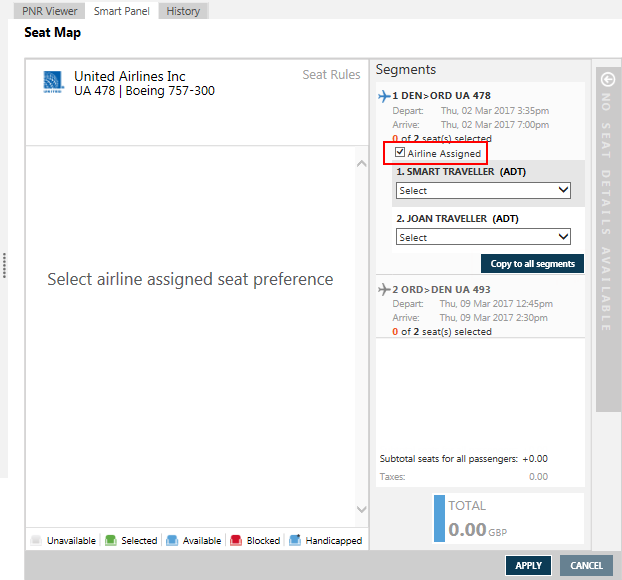
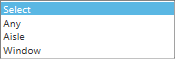
- For the first passenger, click the Select arrow to select a seat type preference.
- Optional. If the passenger wants airline-assigned seats with the same seat type for all segments in the itinerary, click Copy to all segments. If you do not select Copy to all segments, you can choose between selected seats, airline-assigned seats, as well as different preferred seat types for each segment.
- Repeat Steps 5 through 7 for each passenger.
- When all seats are assigned, including any airline-assigned seats, free seats, and paid seats, click REVIEW to display the Review screen.
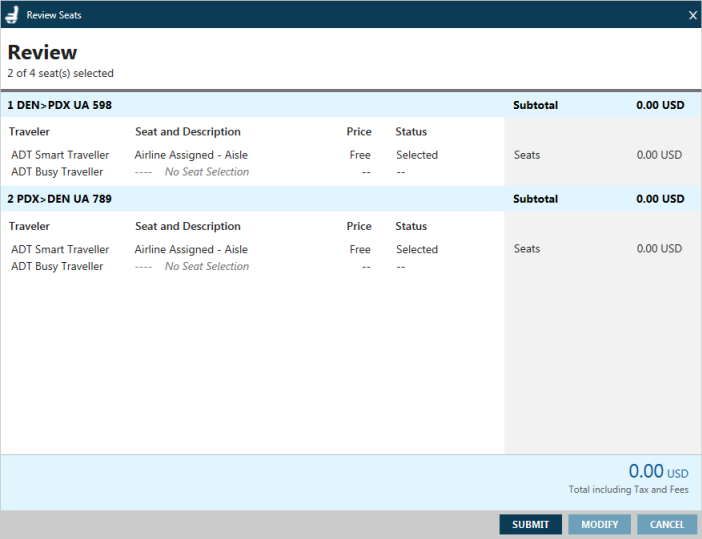
- Review the seat assignments. If you want to change your selections, click MODIFY to redisplay the seat maps.
- Click the SUBMIT to confirm the seat assignments.
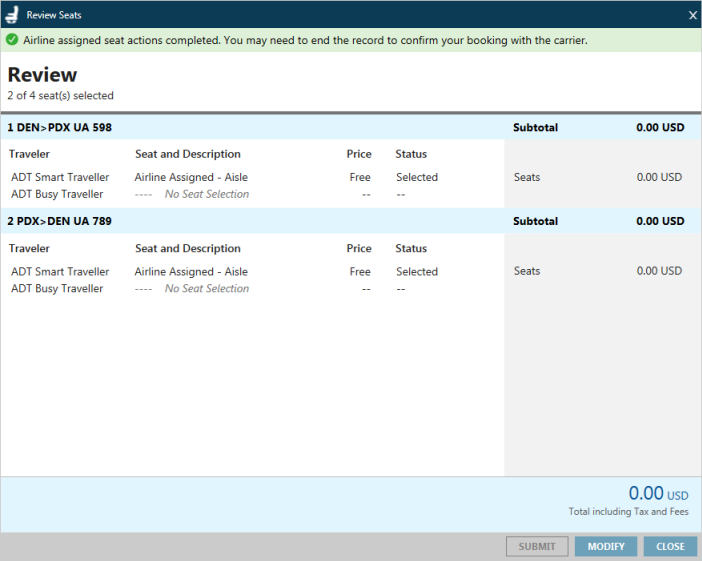
- Click CLOSE to exit the Review screen.
- End transact (ER or ET) to store the assigned seats.
In the PNR/Booking File, *SD in Travelport+ (1G) or 9D in Apollo (1V) displays the seat information in the PNR/Booking File.
