Printing to a Network Printer in a Workgroup Environment
Galileo Print Manager.net enables a customer to use local or networked printers as the target for certain print devices, such as an itinerary printer. Configuring Network Printer Permissions provides details about how to do this in an Active Directory Domain environment. This topic offers guidance for a Windows Workgroup environment.
Example Scenario
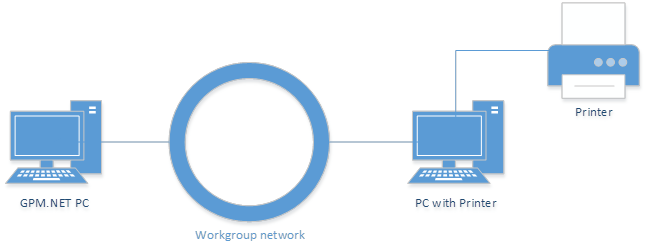
An agency is using a Workgroup as their network solution, which is the default behavior for new Windows operating system installations.
- The agency has a printer attached to one of the computers in the network, such as a USB laser printer.
- On a different computer in the network the agency has Galileo Print Manager.net installed and wishes to use the laser printer for printing itineraries.
Adding a Printer from Windows Workgroup
Follow these steps to enable printing from Galileo Print Manager.net to the network printer.
Note: These steps should be similar on the various Windows operating systems.
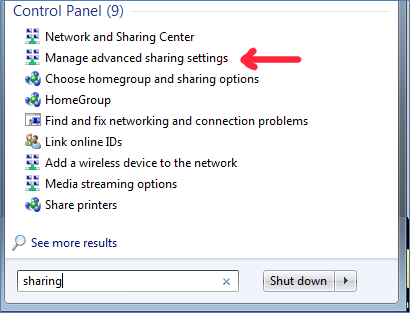
- Ensure that printer sharing is enabled in Windows.
On the computer that has the printer attached, select the Windows Start menu, type sharing in the search box, and then select Manage advanced sharing settings.
Select Turn on file and printer sharing if not previously selected.
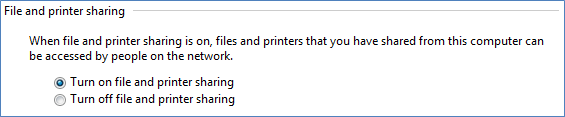
- Select Save Changes.
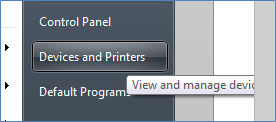
- Share the networked printer.
Select Devices and Printers from the Windows Start menu on the computer that has the printer attached.
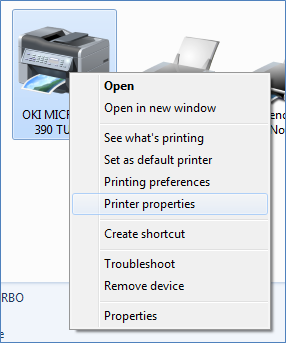
Right-click the desired printer to be shared, and then select Printer Properties.
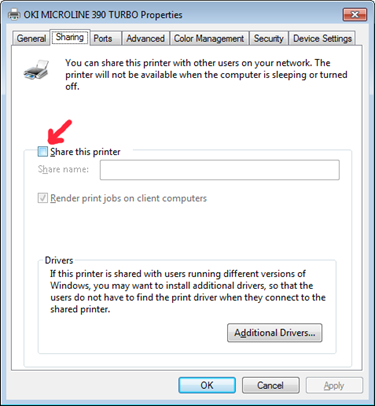
- Select the Sharing tab on the Properties dialog box.
- Click Share this printer if the printer is not already shared.
- Enter a name in the Share name field to reference the printer in the workgroup.
Click OK.
- Set up the printer to be available on the Galileo Print Manager.net computer.
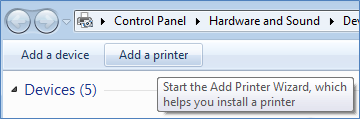
Select Devices and Printers from the Windows Start menu on the computer with Galileo Print Manager.net installed.
Choose Add a printer from the menu.
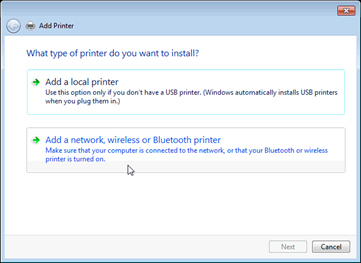
Select Add a network, wireless or Bluetooth printer.
Click The printer that I want isn’t listed after the system searches for available printers.

Choose Select a shared printer by name, and then click Browse.
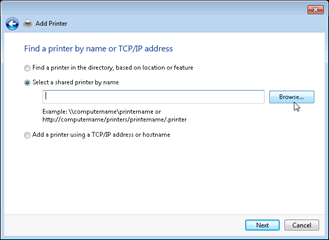
- Locate the name of the computer that is sharing the printer, open it, and select the desired printer.
- Close the dialog box, and then click Next and complete the addition of a shared Workgroup printer.
Configuring Galileo Print Manager.net
When adding a printer, such as an itinerary printer, to the Galileo Print Manager.net configuration, you should now see the newly shared printer listed as an available printer.
- Select the printer you just added to finish the configuration.
-
Set the correct GPM.NET Service account (VERY IMPORTANT!)
This step is critical. The main part of Galileo Print Manager.net runs as a Windows service and it is the account set up in that service configuration that determines what resources are available for use by Galileo Print Manager.net. Although you might have configured Galileo Print Manager.net to use a specific printer that appears to be available, it is only available for the user account that was logged on when following step 3 in the Adding a Printer from Windows Workgroup procedure. Thus, make sure that the GPM.NET service uses the SAME account!
-
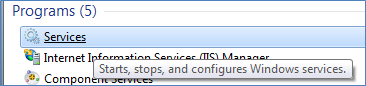
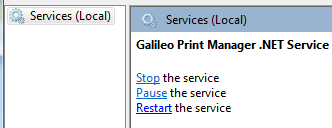
Open the Windows Services administration dialog box. To do this, type services in the Windows Start menu, and then select the application.
-
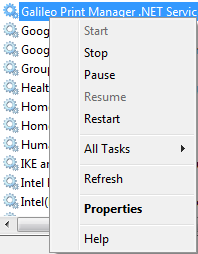
Locate Galileo Print Manager .NET Service in the list.

-
Right-click and select Properties.
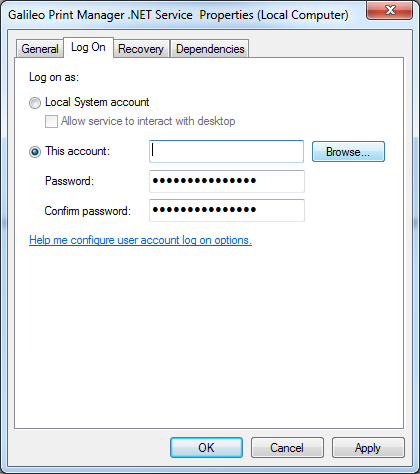
- Select the Log On tab in the dialog box.
-
Select This account:, and then click Browse.
-
Locate the account you used to log on to the Galileo Print Manager.net computer, select it, and then click OK.
Note: It might appear as something like .\myaccount in the main dialog box.
- Add your password.
- Click OK.
-
After the account has been set up correctly, restart the windows service by either using the GPM.NET Service Monitor icon in the Windows notification area (located on the right side of the Windows taskbar) or the Windows Services administration dialog box.
-
Galileo Print Manager.net now is correctly configured to print to the workgroup network printer.