Configuring Network Printer Permissions
Galileo Print Manager.net will fail to print to network printers (for example, \\workstation1\hplaserjet) if the permissions are not set correctly. The account on which Galileo Print Manager.net runs must be given access to the network printer to which you want to print.
In the following procedure, steps 1 through 6 are needed for most network connections. Steps 7 through 20 are for specific configurations of MIR printers.
To set up the account permissions:
-
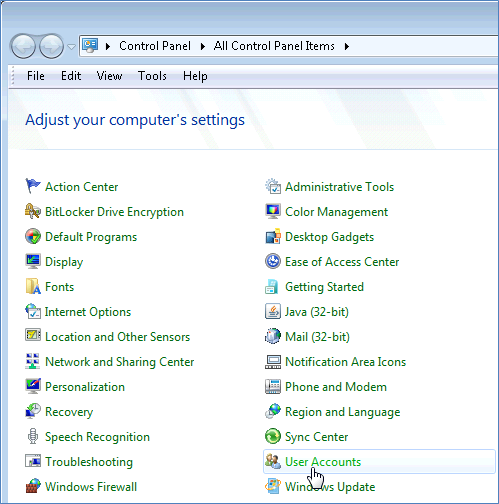
Open User Accounts in the Windows Control Panel on the workstation where Galileo Print Manager.net is running.
-
Ensure that the current user is a local administrator and has a password set.
-
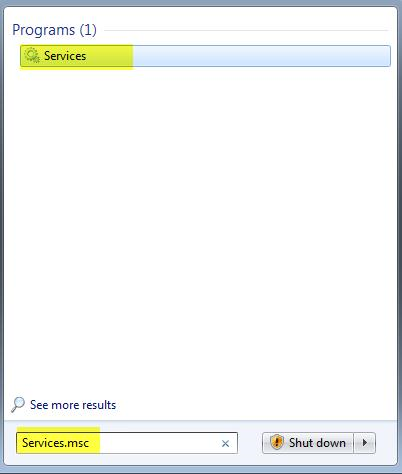
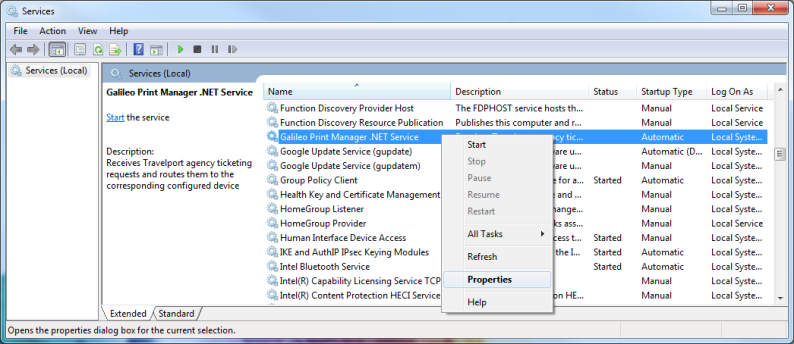
Open Services.msc from the Windows Start Menu.
-
Right-click Galileo Print Manager .NET Service, and then click Properties.
-
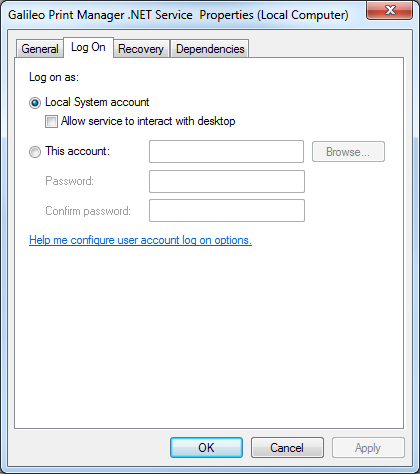
Click the Log On tab.
-
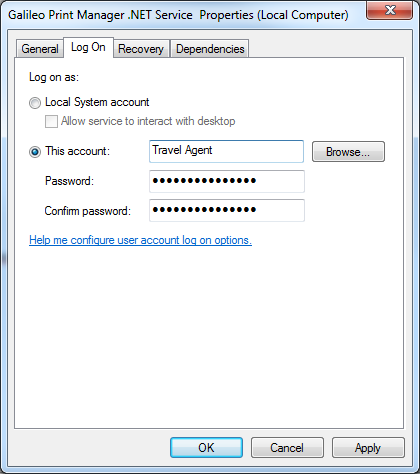
Click This Account.
- Enter the user name and password for the administrator user account in use (see step 2).
- Click Apply.
-
Click OK.
For most network printer connections, you do not need to perform steps 7 through 20.
Steps 7 through 20 are performed on the workstation where the "MIR" file share is or will be configured (this is the workstation where the "MIR" directory/folder is located).
-
Open User Accounts in the Windows Control Panel on the workstation where Galileo Print Manager.net is running.
-
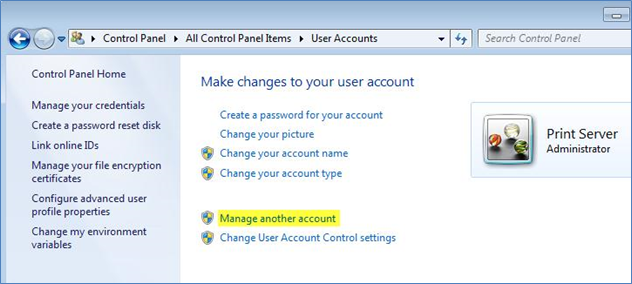
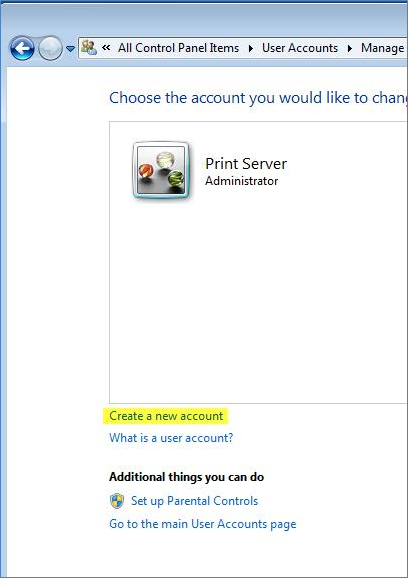
Click Manage Another Account.
-
Click Create a new account.
-
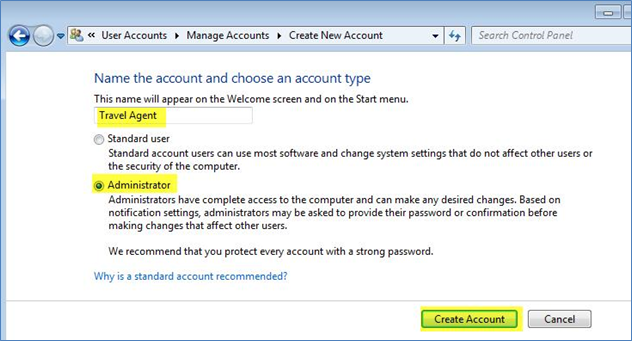
Add the exact same user name used in Step 2 in the "This name will appear…" field.
- Click Administrator.
- Click Create Account.
-
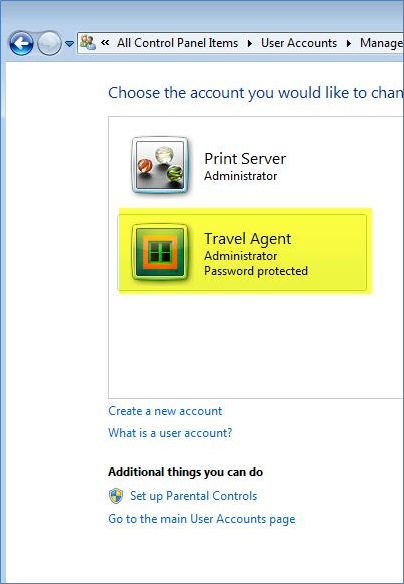
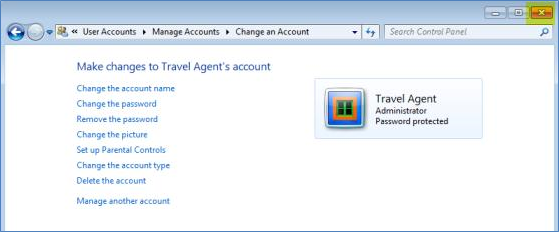
Double-click the newly-created account.
-
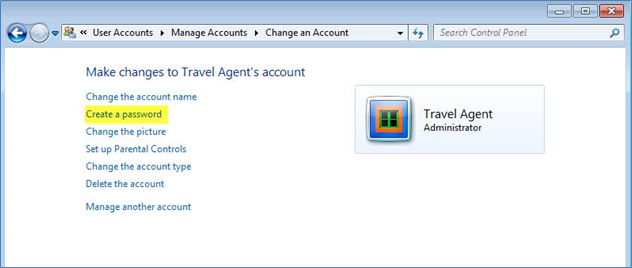
Click Create a password.
-
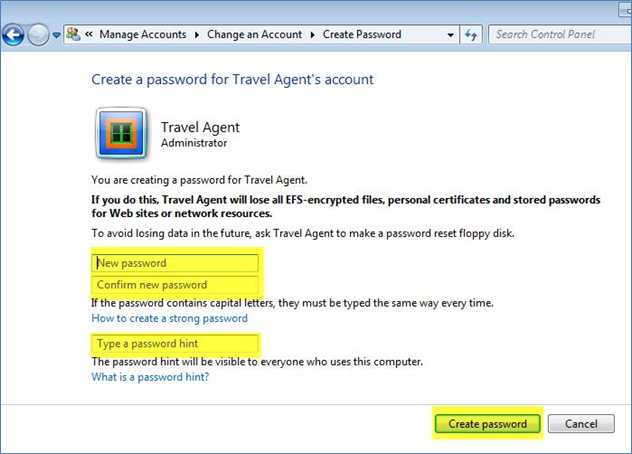
Type the exact same password in use for the user in step 2.
-
Close the Change an Account window (by clicking the red X in the top-right corner).
-
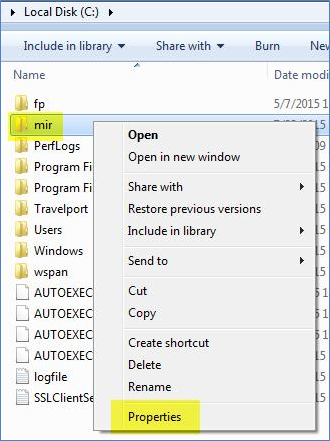
Open MIR directory location.
- Right-click the MIR folder to display a menu.
- Choose Properties.
-
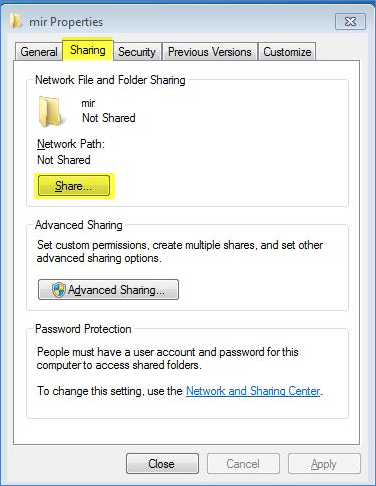
Click the Sharing tab, and then click Share.
-
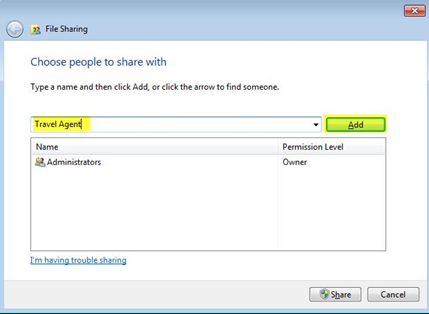
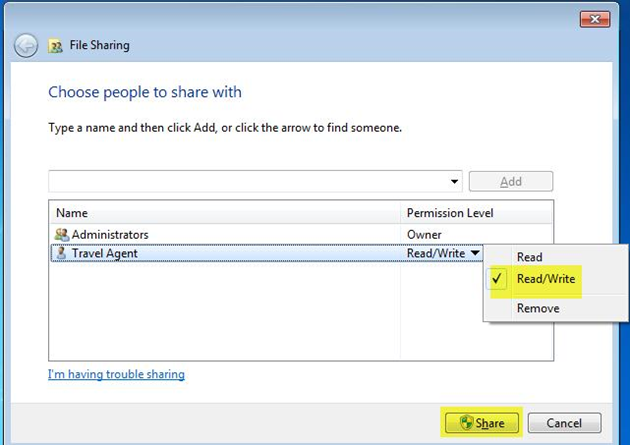
Type the user name exactly as entered in step 10, and then click Add.
-
Select Read\Write from the Permission Level drop-down for the account just added, and then click Share.
-
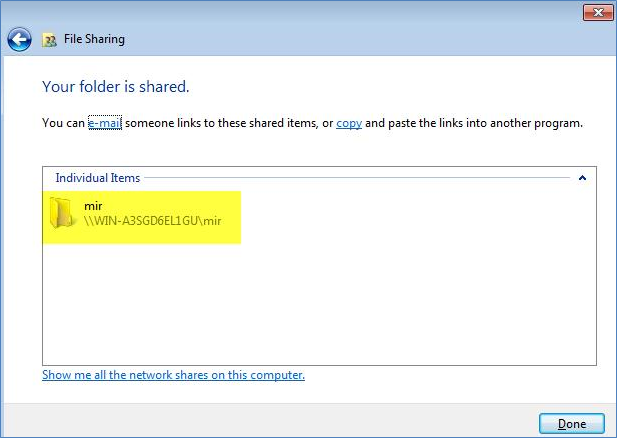
Make note of the share name, and then click Done.
-
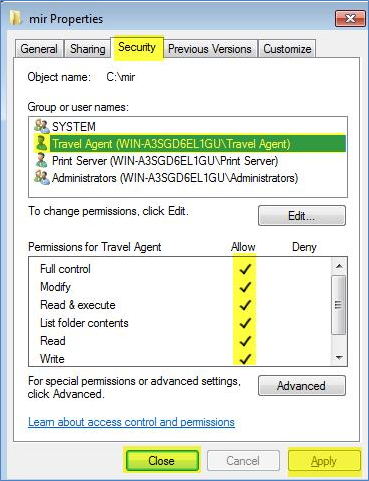
Click the Security tab.
- Ensure that the user (see step 10) is in the list of group or user names and has full control of the MIR directory.
- Click Apply and/or Close.
Steps 21 – 25 are performed on the workstation where Galileo Print Manager.net is running. Mapping a network drive is optional.
Note: Make sure that if the machine is restarted, the mapped network drives are reconnected also.
-
Search for the shared drive on the Local Area Network by entering
\\followed by the remote workstation name (for example,\\fileserver) in the Start menu search field, and then pressing Enter.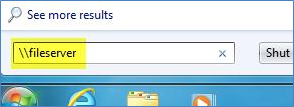
-
When new Window opens, right-click the MIR folder, and then click Map network drive.
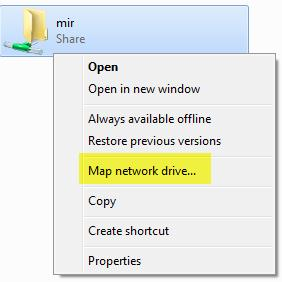
-
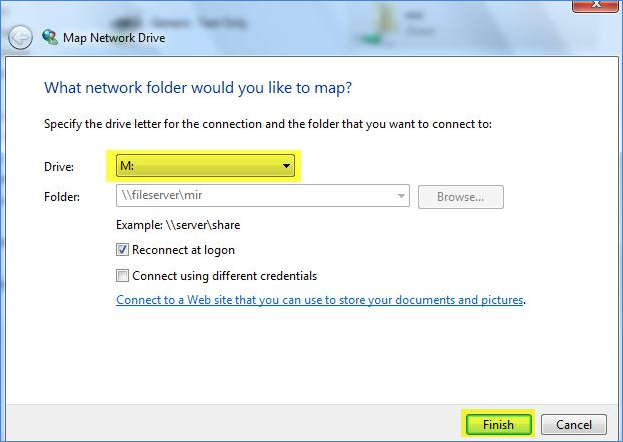
Select a network drive letter, and then click Finish.
-
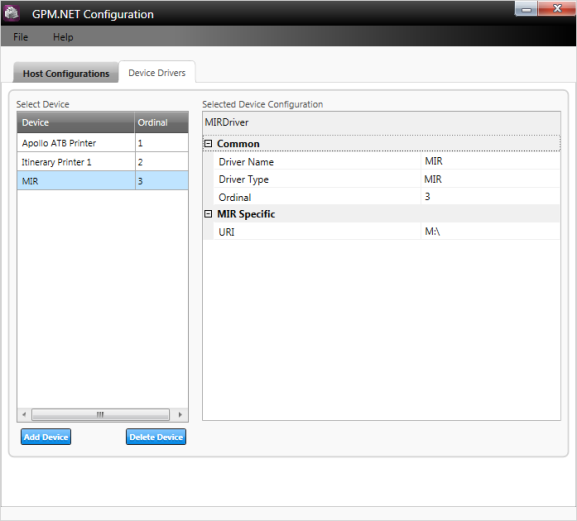
Configure Galileo Print Manager.net to use the Mapped Network drive for the MIR GTID.
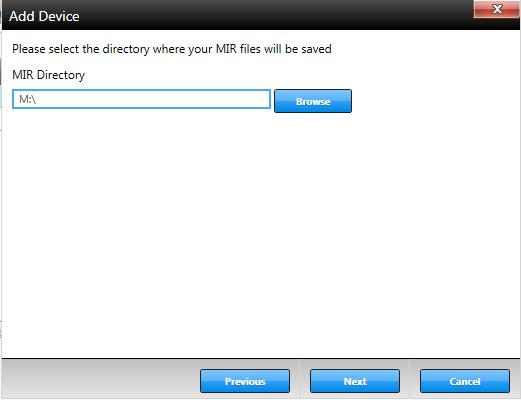
-
Test the transmission of MIRs from the host.