Using Smartpoint Cloud
Smartpoint Cloud can support up to 9 windows, which can be added, deleted, moved, and resized.
You can also switch between graphical displays and terminal displays using the Toggle view  icon. Refer to Toggle views below.
Modify your workspace
You can add, resize, close, and move windows. When the Toggle view icon is active, you can switch between terminal and graphical displays.
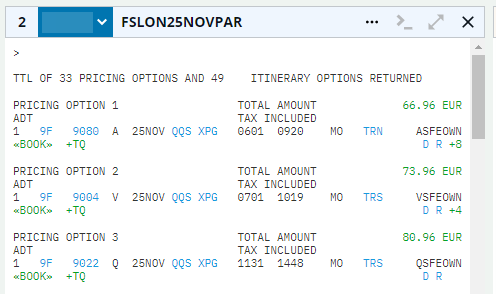
-
Press the + at the bottom left of each window to add a new window to the column (maximum of 3 windows per column). Drag the horizontal line to resize any window.
-
Press the Toggle view
icon when active to toggle between the terminal and graphic display. -
Press the More
 icon to change the window’s options to native mode or change the window's color theme.
 -
Press the X in the upper right corner of a window to close it.
-
Drag the window header to move the window to another location. Double-click the window header to maximize or minimize a window.
The layout you are using when you log out is remembered and displayed next time you log in.
Press the pin  icon to pin and unpin the panels..
When working in a window:
-
All input entries are displayed at the top of each window.
-
A loading icon displays when waiting for a response.

-
Below is the resulting response. An inner scroll bar appears when the response is longer than the size of the window.
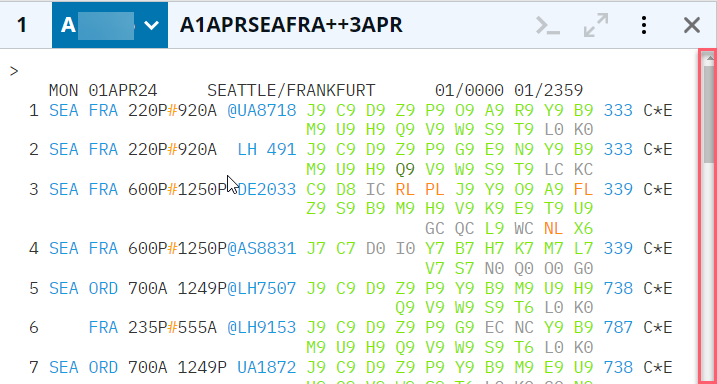
Toggle views
When in a graphical view, press the Toggle view  icon in the upper right corner to switch from the graphical view to the terminal view.
The terminal window displays the cryptic entry in the header and the results listed in the window. To return to the graphical view, press the Toggle view icon in the window header.
Graphical view
The Smartpoint Cloud graphical Booking Viewer includes an embedded top navigation menu.

The left-side Global Navigation provides quick access to the Home page, the Tools panel, and the My Queues panel.

The main section of the Booking Viewer offers booking-centered navigation, providing direct access to functions from their corresponding booking sections. This approach enables users to perform actions within the relevant booking context without navigating to separate menus or areas of the application.

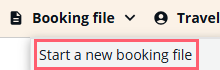
Booking File: Access the Booking File search panel. It displays the locator and first passenger name of the retrieved booking. Without a booking, allows a quick creation of a new one.
Travelers: Access profile search.
Flights: Access any of the flight panels, including search, terminal entry, and direct sell.
Hotels: Access the hotel search panel.
Cars: Access any of the car panels, including search and direct sell.
Rail: Access the rail search panel.
For a quick overview of the information entered in a section, summary previews are available for each section by hovering over or selecting the ... icon next to populated segments.
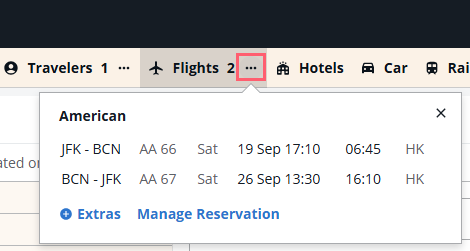
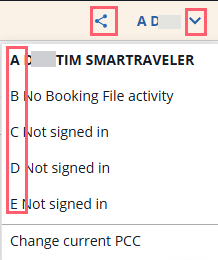
The right-side of the top navigation menu provides quick access to the Trip Quote basket and the work areas.
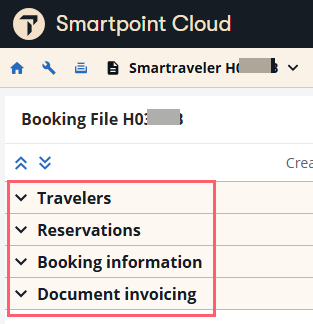
Booking Viewer sections
When a booking is active, the Booking Viewer displays several sections, or cards, that allow users to manage and update the reservation. These sections are Travelers, Reservations, Booking information, and Document invoicing.
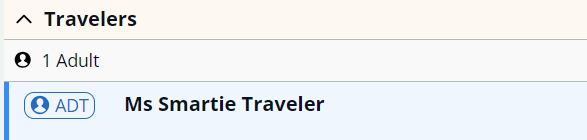
Travelers
This card displays passengers names and type.
When selected, on the right side of the card, these traveler details are displayed:
-
The PTC applied
-
Date of birth
-
Membership numbers
-
Security information
Each card provides options for other tasks. The traveler has an Edit Travelers button. When pressed, you can add membership numbers and security information, such as passport details. The air card has an Issue ticket button and, if ticketed, a modify button becomes available.
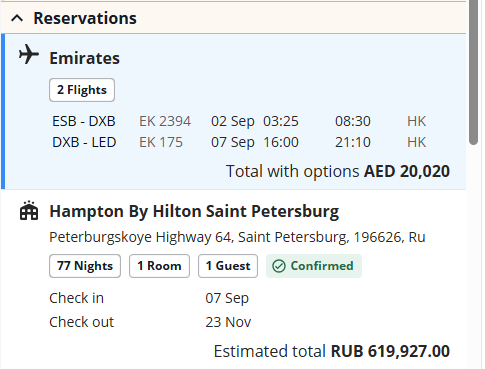
Reservations
The Reservation Card provides an overview of the booking, including the number of flights booked, flight details, costs, and any car and hotel segments details.
Booking information
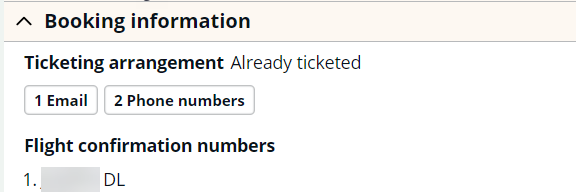
This card displays booking information in summary, and the airline’s record locator in their system. The right side documents the booking details.
Document invoicing
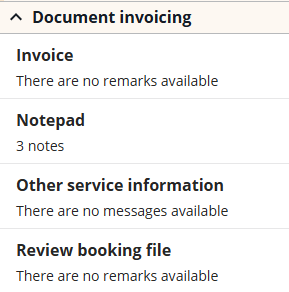
Document invoicing includes invoice remarks (DI section, which contains NDC audit trail (if used) or invoice information), notepad remarks, other service information, and review booking file remarks.
Booking view
Once a PNR is retrieved, the booking view appears along the top of the window. The booking view is visible in both terminal and graphical views. It begins with the booking (record locator), the number of travelers in the booking, and the number of flights booked.

Press the down arrow next to the locator code to view the booking file, send itinerary, ignore, cancel the traditional segments, or start a new booking file.
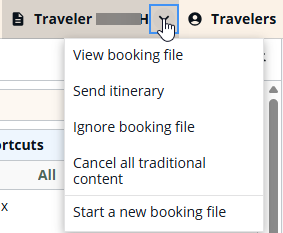
If you ignore the booking file in terminal view, you will remain in terminal. If you ignore the booking file in the graphical view, you will be redirected to the welcome page.
If you want to return to a booking you worked with this session, scroll down and view the list under Recent activity. An interactive list displays the record locator, traveler's full name, travel date and time. Press the name or record locator and the PNR will open in graphical view.